

Reorganised from an older seam failure analysis, with construction details and spec lines checked against the current moving bag product data.
A sample bag came back from a buyer last spring with a note pinned to the strap: "stitching looks light." The note was wrong about the cause and right about the symptom. The bag had failed at the handle joint, and the thread was intact.
The buyer used to treat stitch density as the main number on a seam spec. Then a batch of lightweight woven bags came back torn along the stitch line, not at the thread. The thread had held. The fabric had not. That batch changed how the buyer reads a seam sheet.
The Dense Stitch Habit That Looks Careful

A buyer writes “12 stitches per inch” on a spec sheet and feels the seam is covered. The number looks precise. It suggests someone has thought about strength and put a figure on it. In a sample room, a dense row also looks tidy under a light, with small even bites of thread and no gaps.
That habit spreads. Once one style is signed off at a high SPI, the next style inherits the number without a fresh look at the fabric. A 12 SPI row on a heavy tarp panel and a 12 SPI row on a thin woven poly panel get the same line on the sheet. The fabric behind them is not the same material.
Why Extra Stitches Feel Like Insurance
More stitches read as more holding power. If one row of thread is good, a tighter row should be better, the way a thicker rope or a wider strap feels safer. The logic is easy to follow and hard to argue with on a spec sheet.
There is a real effect behind it, up to a point. A denser row spreads load across more thread crossings and can close a gap that a loose row would leave. On a seam that fails by thread break, extra density buys time. The problem starts when the seam is not failing at the thread.
The Fabric Tears Before the Thread Breaks
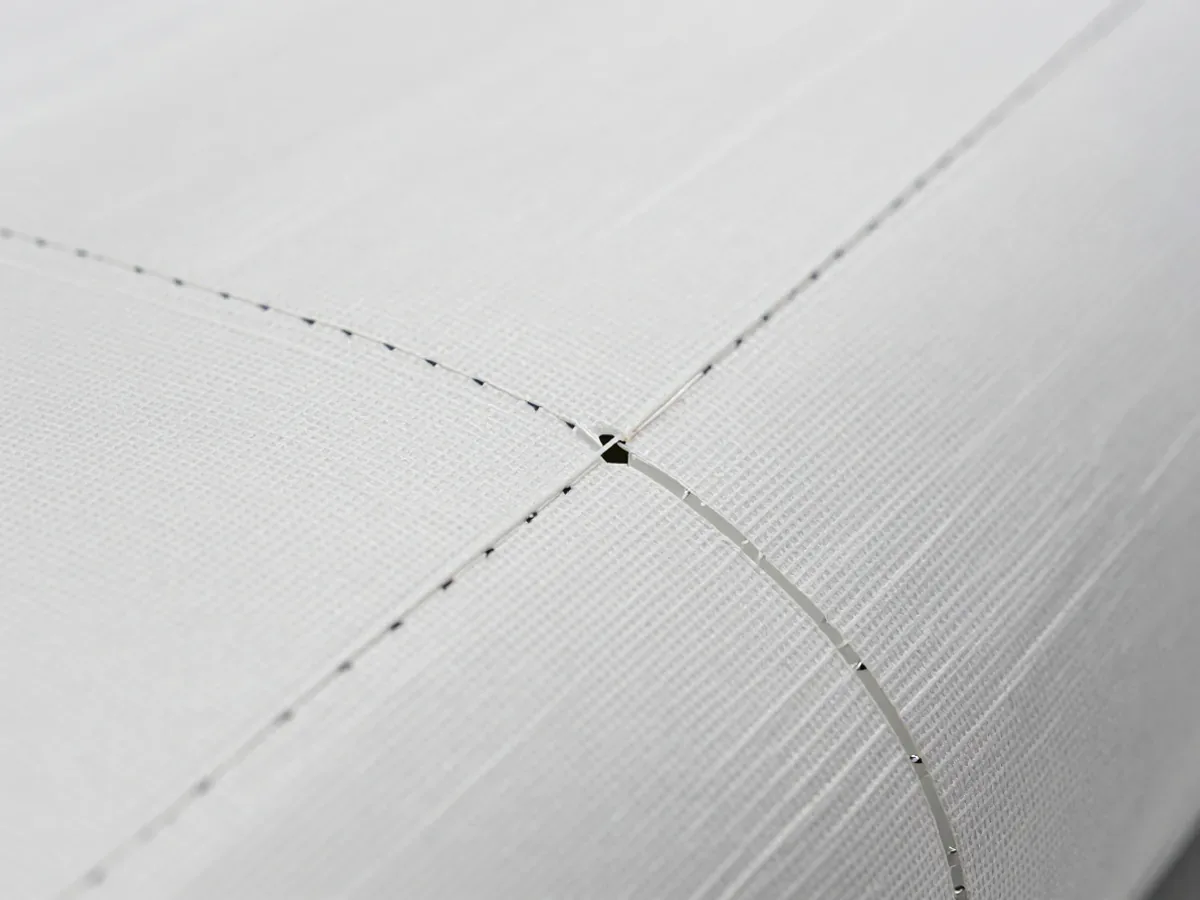
Every needle makes a hole. A dense row makes more holes per centimetre along the same line, and each hole is a small cut in the weave. On lightweight woven polypropylene, a row sewn with too many needle holes per centimetre can tear parallel to the stitch line. The fabric gives way before the thread does.
This is the first failure location: seam tear. The seam looks intact from the outside, thread unbroken, and the panel splits along the row. Past a certain density the seam fails by fabric tear below the thread strength the extra stitches were meant to add. Density helps up to a limit, then reverses.
The second location is seam slippage. The panels slide across the stitch line because the allowance is too narrow or the fabric finish is slippery. The thread holds, the stitch line stays put, and the two panels move apart. A wider allowance and the right seam class fix it, and no amount of SPI prevents it.
The third location is the strap anchor. Load arrives at the point where the handle meets the body, and if the anchor ends at a plain stitch row, the whole pull lands on that row. A box-and-cross pattern or a wrapped strap construction spreads the load into the panel instead of stopping it at the seam.
Two Rows Beat One Dense Row

A single row at very high density concentrates perforations on one line. Two rows at a moderate density put the same holding power across a wider band of fabric, and each row carries less of the pull. The panel between the rows stays intact.
This is the trade a buyer can actually specify. Instead of asking for the highest SPI the factory can run, ask for the row count and the density range per seam class. A double-stitched handle and a double-stitched binding are construction choices, not density choices, and they change how the load travels.
Where the Load Actually Leaves the Panel

On a heavy duty moving bag, webbing runs the full length of the opening, so seam load spreads along the bag edge rather than collecting at one point. The long handle is sewn to the body so a full bag can ride on a shoulder, and that handle is wrapped and double-stitched. The handles are stitched to carry weight, not just to close the bag.
Those details decide seam life more than the SPI line does. A wrapped strap construction moves tension into the panel over a longer distance. A box-and-cross anchor gives the pull four directions to travel instead of one. Corner stitching and reinforced hems do the same job at the low points of the bag.
When a seam fails in the field, the failure point is almost never the fabric body. It is a seam, and specifically the seam-to-panel junction where strap tension, stitch density and fabric tear strength meet. Three forces arrive at one small area, and SPI only speaks to one of them.
Four Lines That Turn a Seam Into a Spec
A seam becomes contractual when four lines are written down. The first is stitch type and density range per seam class, so a handle anchor and a side seam do not share one number. The second is thread specification, including material and UV stability. UV-stable polyester thread holds up outdoors, while standard spun thread degrades in sunlight and unravels from a single broken loop.
The third line is seam allowance width per panel type, which is what keeps slippage out of the sample. The fourth is test method and acceptance criteria, so the pull test has a number to pass or fail against. Without that fourth line, a seam check is an opinion.
Thread choice belongs in the spec for a reason. A bag that sits outdoors or in a hot container is not tested by a single pull in the sample room. State the thread material on the sheet, and the factory has something to buy against at incoming material, where fabric, webbing, zips and thread are checked against the approved spec.
What to Pull and Weigh Before Bulk

The sample room check is physical. Turn the bag inside out and pull the seams by hand, especially at the joint where the handles meet the body. Look for box-and-cross stitching at the strap anchors and a wrapped construction where the handle meets the panel. Weigh the sample against the spec, because a bag that has quietly lost fabric weight will fail at the seam first.
Then confirm the rated load with a documented pull test, and record the result. Pull and seam strength tested on every batch, with results kept, turns a one-time sample pass into a running check. Stitch density, handle placement and logo position are checked by hand at finished bag inspection, which is the last point before cartons close.
A seam sheet that carries only an SPI number leaves three of four failure locations unmanaged. The number is worth writing down. It is not worth trusting alone.
FAQ
Does a higher SPI always mean a stronger seam?
No. Density helps until the perforations weaken the fabric along the stitch line, and past that point the seam fails by fabric tear. The right density depends on the fabric weight and the seam class, not on a single high number.
Why does a seam gap when the thread itself is still intact?
That is seam slippage. The panels slide across the stitch line because the allowance is too narrow or the fabric finish is slippery. The thread never gets a chance to break because the fabric moves first.
What thread should be specified for bags used outdoors?
UV-stable polyester thread holds up in sunlight. Standard spun thread degrades and can unravel from a single broken loop, so the thread material belongs on the spec sheet, not in a verbal note.
How is a seam checked before the bulk run starts?
Turn the sample inside out, pull the seams by hand, check the strap anchors for box-and-cross stitching, and weigh the bag against the spec. Then confirm the rated load with a documented pull test and keep the record.