

Drawn from legacy TIIOCTI bag tech pack guidance and the moving bag production spec.
Every August the same shipment lands in the same condition: a pallet of moving bags, sewn and packed, waiting to be rejected. Last season a buyer in Melbourne opened the first carton and found a bag that stood 16.5 in tall instead of the 17.7 in she had pictured. The tech pack she sent was twelve pages long. It still did not say where the height should be measured from.
The factory had measured from the bottom edge to the top of the handle loop. The buyer had measured to the opening, handles excluded. Both numbers were honest. Neither was written down, so the sample passed the factory’s own check and failed the buyer’s on arrival. That gap is the subject of this case, and it is worth walking backwards through, because the mistake was not made at the sewing machine.
The Sample That Came Back Two Sizes Off

The rejection note listed three faults: height short by 1.2 in, gusset depth narrow by 0.6 in, and the logo sitting 2.8 in from the top edge instead of 2 in. Each fault traced to a different page of the pack, and none of them traced to a careless operator. The pattern cutter had followed the drawing. The sewer had followed the construction note. The printer had followed the artwork file.
What the pack lacked was a single reference that tied those three pages together. The drawing showed a bag with no dimension callouts beyond an overall height. The measurement table listed height, width and depth but did not say which edges defined each one. The logo page showed a position in millimetres but did not anchor it to a named edge.
A pre-production sample is the factory’s best interpretation of the document, not a reading of the buyer’s mind. When the document leaves room, the interpretation fills it. In this order the interpretation cost a full re-cut of the front and back panels, a second print run for the logo, and two weeks of schedule.
Tracing the Gap Back to One Drawing Callout
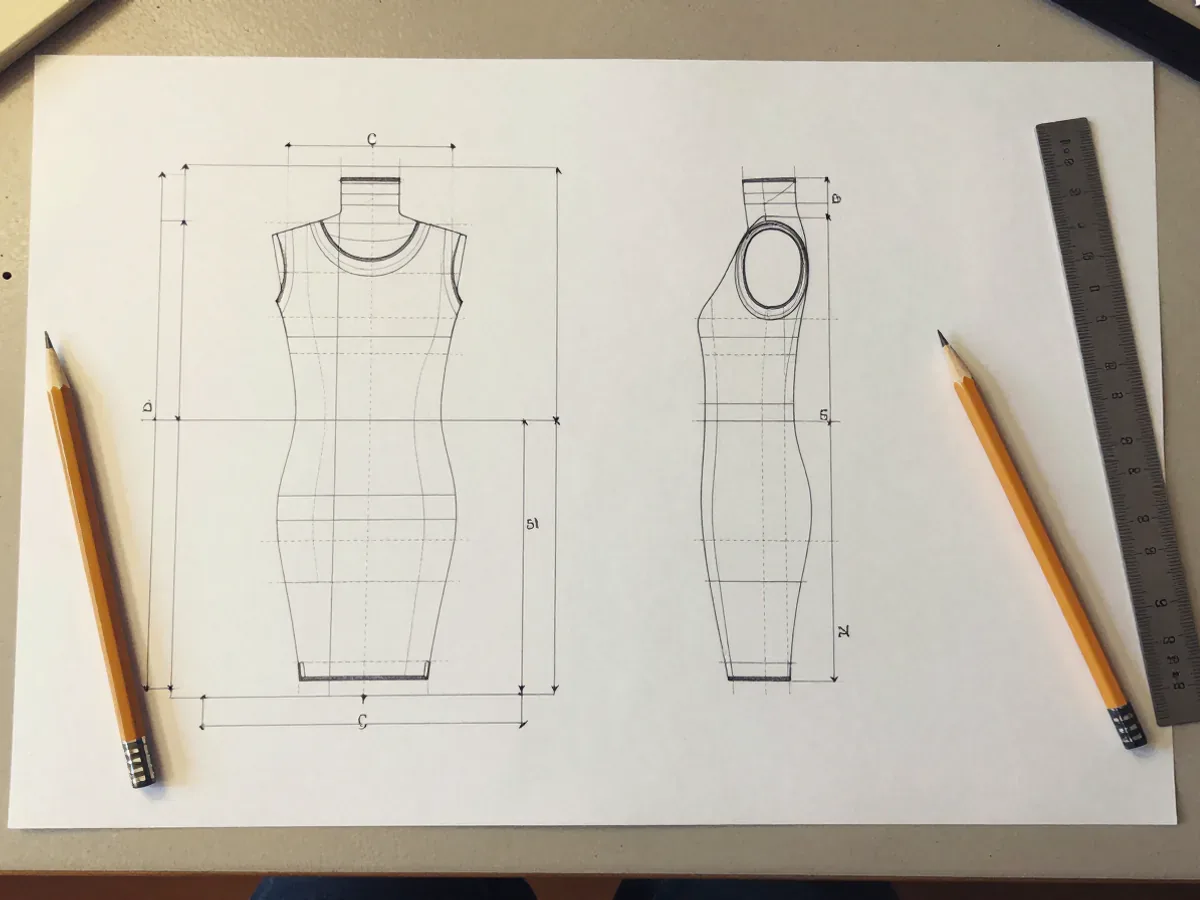
The drawing was the first weak link. It carried a front view and a side view, both clean and to scale, but the only dimension printed on either was the overall height. Width and depth appeared in the measurement table on a later page, disconnected from the shapes they described.
A bag tech pack needs at least five views: front, back, side, base and inside. Complex designs with layered panels may need an exploded view as well, showing how the components separate. Each drawing should use clean outlines with construction lines marking seam positions, fold lines and measurement points. Shaded renderings and three-dimensional mockups belong in a separate presentation file, not in the working pack.
The callout itself is where the money sits. Every measurement on a drawing should carry a target value and a tolerance, written together. A height callout that reads 17.7 in plus or minus 0.2 in tells the pattern cutter what to aim for and how much drift is acceptable. A bare 17.7 in tells them only the first half.
In the Melbourne order, the height callout had no tolerance and no definition. The pattern cutter worked to the drawing’s silhouette, which included the handle loop, and produced a bag that was internally consistent and externally wrong.
Where Loose Notes Become a Sewing Line Decision
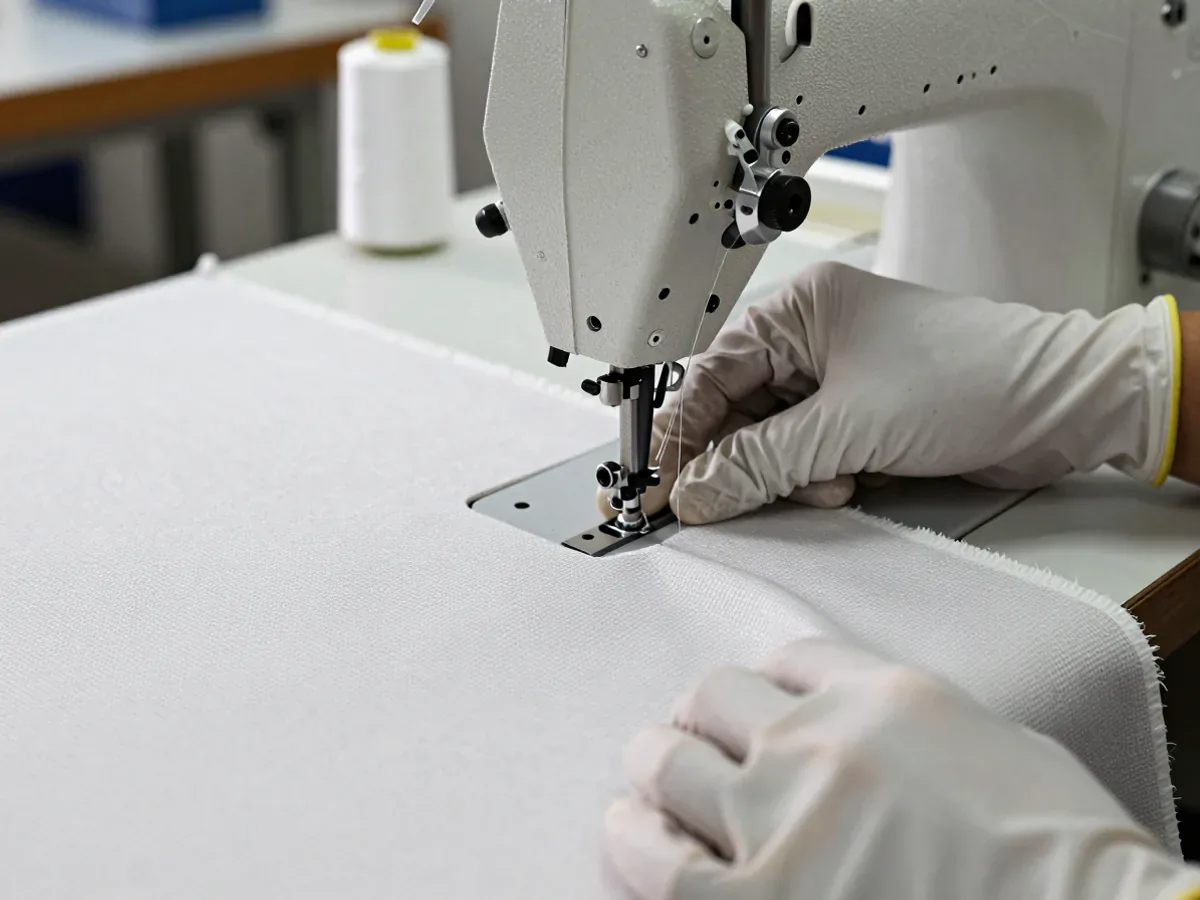
The construction notes were the second weak link, and they failed in a quieter way. They described the bag in prose: strong seams, reinforced handles, clean edges. None of those phrases converts into a machine setting.
Construction notes tell the sewing line exactly how to assemble the bag, and they prevent the most expensive class of error, which is a bag that looks correct and fails in use. Panel breakdowns come first. A typical woven PP moving bag has six panels: front, back, two sides, base and top flap. The note should list each panel, its material and how it joins its neighbours.
Stitch type and stitches per inch decide seam strength. The pack should name the stitch for every seam using the classifications in ASTM D6193, Standard Practice for Stitches and Seams, and give an SPI count beside it. A heavy-duty moving bag sewn with 5 SPI lockstitch instead of 8 SPI will fail at the seams when loaded, and it will fail after the cartons have shipped.
Edge treatments depend on the material. Woven PP bags usually take folded and topstitched edges or bias tape binding. Oxford and canvas may need edge paint, burnish, skive or turn treatments. The note should say which treatment applies to which edge, because the same bag can carry three different finishes on three different panels.
The BOM Line That Decides Material and Hardware
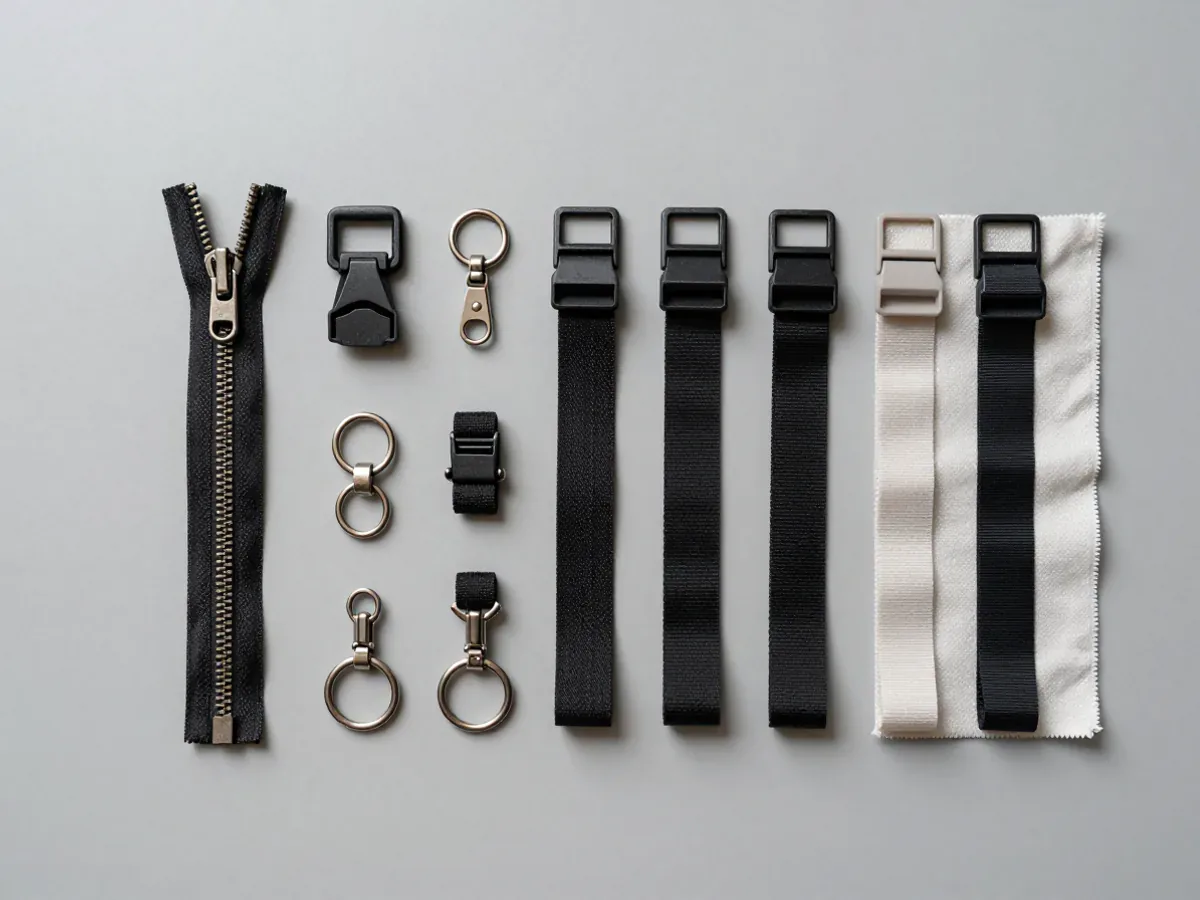
The bill of materials was the third weak link, and it was the shortest document in the pack. It listed four rows: shell fabric, webbing, zipper, thread. No GSM, no colour reference, no supplier, no hardware alloy.
The BOM catalogs every material and component that goes into the bag. A complete version lets the factory source all inputs in parallel, which shortens lead time, and lets the buyer verify material costs line by line. Each row should carry the material type, the GSM or thickness, the dimensions, the colour, the supplier, the minimum order quantity, the lead time and the unit cost.
Hardware deserves its own rows rather than a single catch-all. Zippers, buckles and D-rings come in hundreds of variants, and a zinc alloy pull is not a stainless steel pull even when both look silver in a photo. The BOM should name the alloy, the finish and the load rating where one exists.
The Melbourne pack had one hardware row reading “black zipper.” The factory sourced a tape-end length that suited its standard stock. The buyer had specified a length measured from tape end to tape end, not just the teeth, in a conversation that never reached the document. The zipper was correct to the pack and wrong to the order.
What the Factory Reads Before Cutting Anything
A factory reads a tech pack in a fixed order, and each stage exposes a different kind of gap. The merchandiser reads the drawings first, looking for manufacturability problems: a seam that cannot be reached, a radius too tight for the material, a panel that will not nest on the cutting table. Then the pattern room reads the measurement table and builds the block.
The sewing line reads the construction notes last, and it reads them literally. If the note does not name a bartack at the handle attachment, the line will not add one. If the note does not give an SPI, the line will use the setting already on the machine from the previous order.
This is why a pack that looks complete on a screen can still be empty in the places that matter. Completeness is not page count. It is whether every decision the line must make has an answer written next to it.
A factory that accepts tech packs in PDF or AI format will assign a dedicated merchandiser to review the specifications before quoting. That review is the buyer’s first chance to hear where the document is silent, and it is cheaper to hear it then than after the sample ships.
Checking the Pack Against the Approved Sample
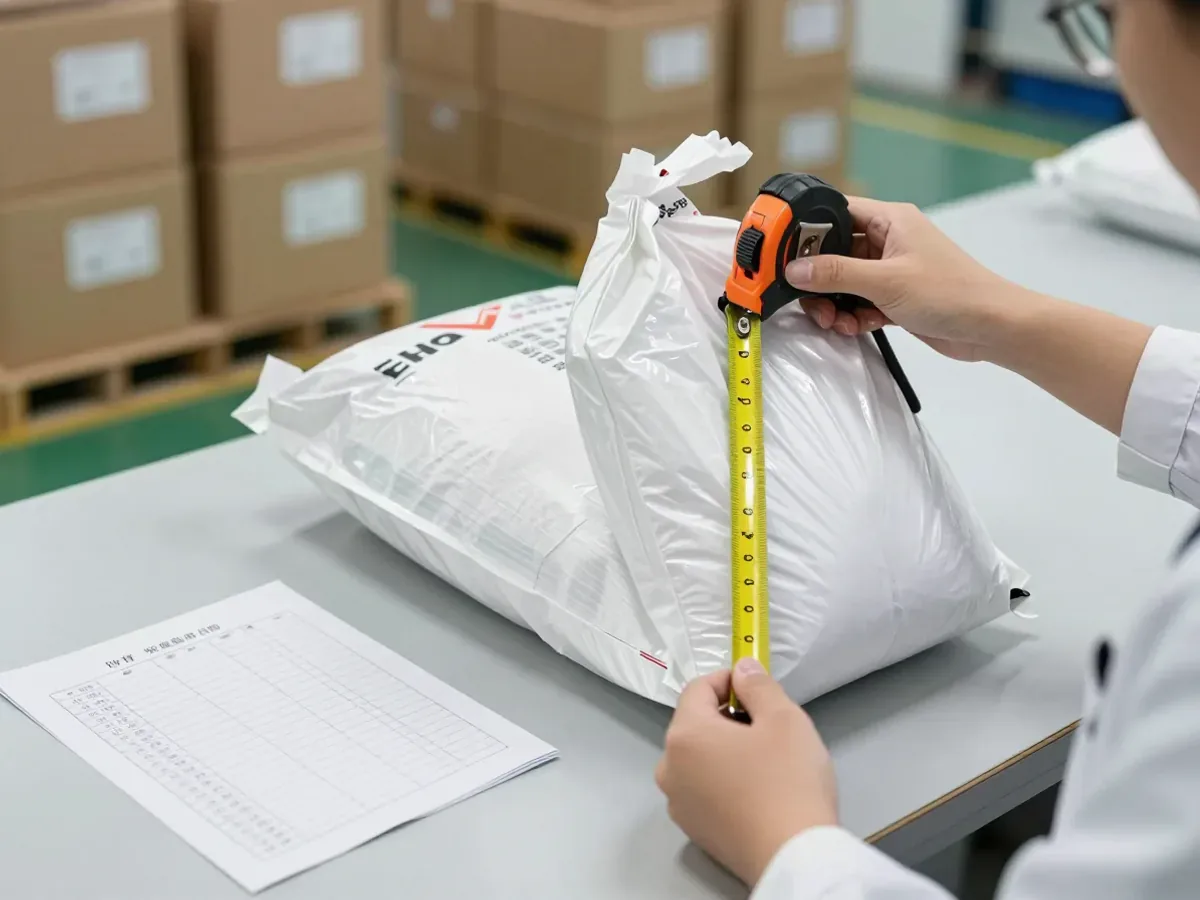
The pre-production sample is the pack’s proof. Once it is approved, the sample becomes the physical reference and the pack becomes the written one, and the two must agree. A buyer inspecting a PPS should check every measurement against the table, every material against the BOM, and every seam for stitch type and SPI compliance.
Discrepancies should be documented and corrected in the pack before production, not noted on the sample and forgotten. A measurement that was adjusted on the sample without a corresponding edit to the table will drift back to the table value on the line.
The factory’s own checks follow the same logic. Incoming fabric, webbing, zips and thread are checked against the approved spec. Pull, seam strength and bartack are tested on every batch. Finished bags are checked by hand for dimensions, handles and logo, and cartons are counted and photographed before the container seals. Those checks only work if the spec they check against is the one the buyer actually meant.
What to Fix Before You Sign the Pack
The signing stage is the last cheap moment. After the pack leaves the buyer’s desk, every correction costs a sample, a re-cut or a shipment.
Start with the drawing set. Confirm five views at minimum, each with construction lines and each measurement carrying a target and a tolerance. Then confirm the measurement table defines its reference points in words: height from bottom edge to top opening excluding handles, width across the front panel at its widest point, depth from front panel to back panel at the side seam, handle drop from the opening to the highest point of the loop, strap length including attachment hardware measured flat, inside pocket height and width, zipper length from tape end to tape end, and logo placement as distance from the top edge and the side edge to the logo centre.
Then read the construction notes as if you were the sewer. Every seam named, every stitch type given, every SPI count written, every edge treatment assigned to a specific edge.
Then walk the BOM row by row and ask what a factory would buy if the row said nothing more than it says now. If the answer is “whatever is closest,” the row is not finished.
FAQ
How many views should a bag tech pack drawing include?
Five at minimum: front, back, side, base and inside. Designs with multiple layers or hidden compartments may also need an exploded view showing how the components separate.
What stitch details belong in the construction notes?
The stitch type for each seam using ASTM D6193 classifications, the stitches per inch beside it, the seam allowance, and any reinforcement such as a bartack at handle attachments. Edge treatments should be listed per edge, since one bag can carry several finishes.
Which fields should each BOM line carry?
Material type, GSM or thickness, dimensions, colour, supplier, minimum order quantity, lead time and unit cost. Hardware rows should add alloy and finish, and zipper rows should state the measurement convention, tape end to tape end rather than teeth only.
Can a tech pack be sent as a PDF?
Yes. Many factories accept PDF or AI format and assign a merchandiser to review the specifications before quoting. What matters is that the file carries the callouts, tolerances and BOM fields, not the format it arrives in.