Based on a composite dealership parts department case and heavy-duty tote specifications from the production floor.
A parts manager at a dealership group asked last month why her pilot totes looked right on the shelf but felt wrong the moment a brake rotor went in. She had approved a sample, ordered a first run, and scheduled the aisle switch for a Monday morning. The question she brought to the table was not about fabric or colour. It was about what a walk through production would have shown her before the cartons ever reached her parts counter.
That walk is the useful part. A tote program for a parts department can be checked at six stations, and each station answers a different worry. This is the route one batch of dealership parts totes takes, from the purchase order to the first aisle switch, and what a buyer should look at on the way.
The PO That Started With a Parts Count, Not a Bag

The order did not begin with a bag size. It began with a count. The department listed its part lines, the heaviest item on each line, and how many totes would sit on a shelf at once. A brake rotor line reads very differently from a line of clips or gaskets, and the purchase order has to separate them.
At this station the buyer writes down three things: the load each tote must carry, the label information that has to stay visible, and how the aisle colour code maps to the shelving. A tote that holds one part line needs a face card that says what is inside, because a counter person should not have to open four bags to find a caliper bolt.
The mistake at this stage is treating the tote as a container decision. It is an inventory decision. If the parts count is vague, the bag spec will be vague too, and the first aisle switch will expose it.
Incoming Webbing and the Load It Has to Hold

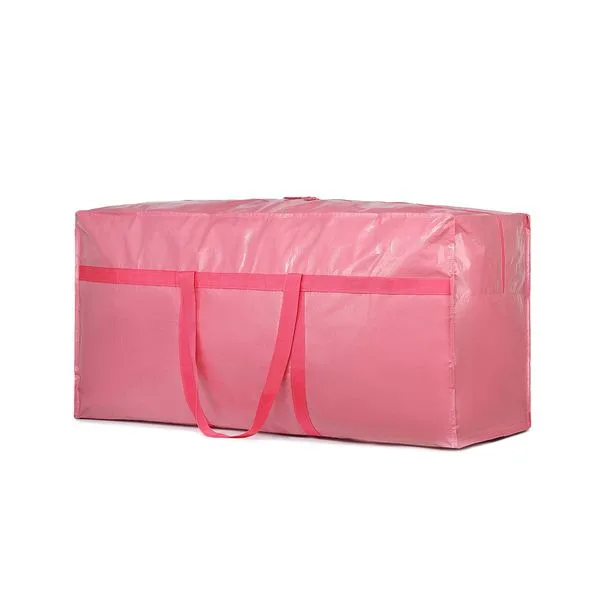
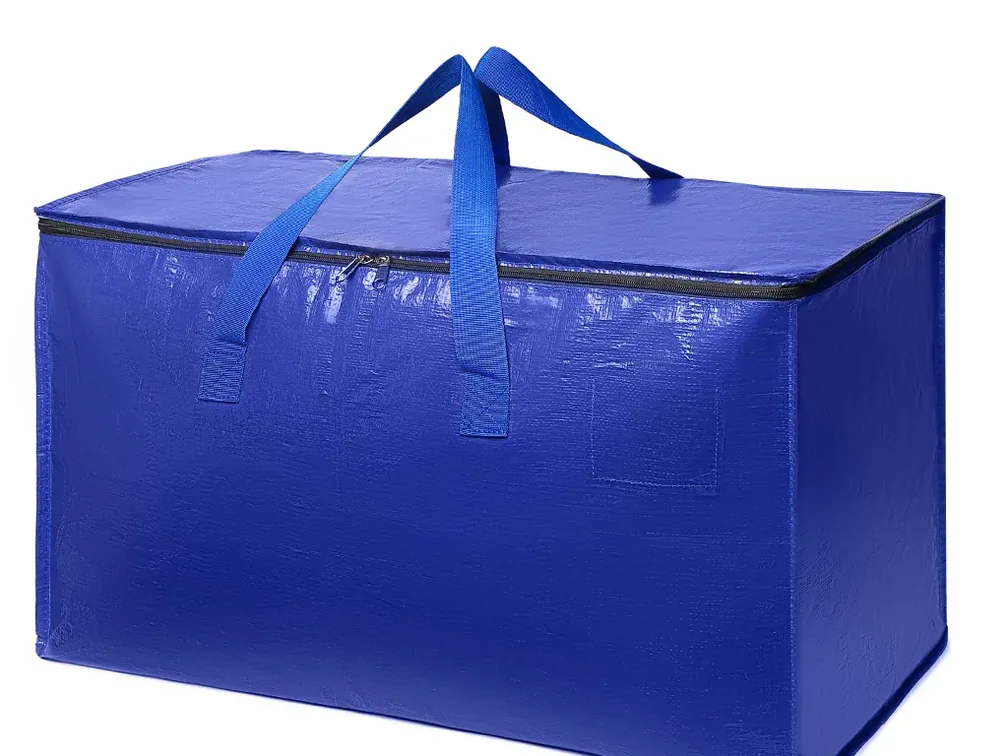
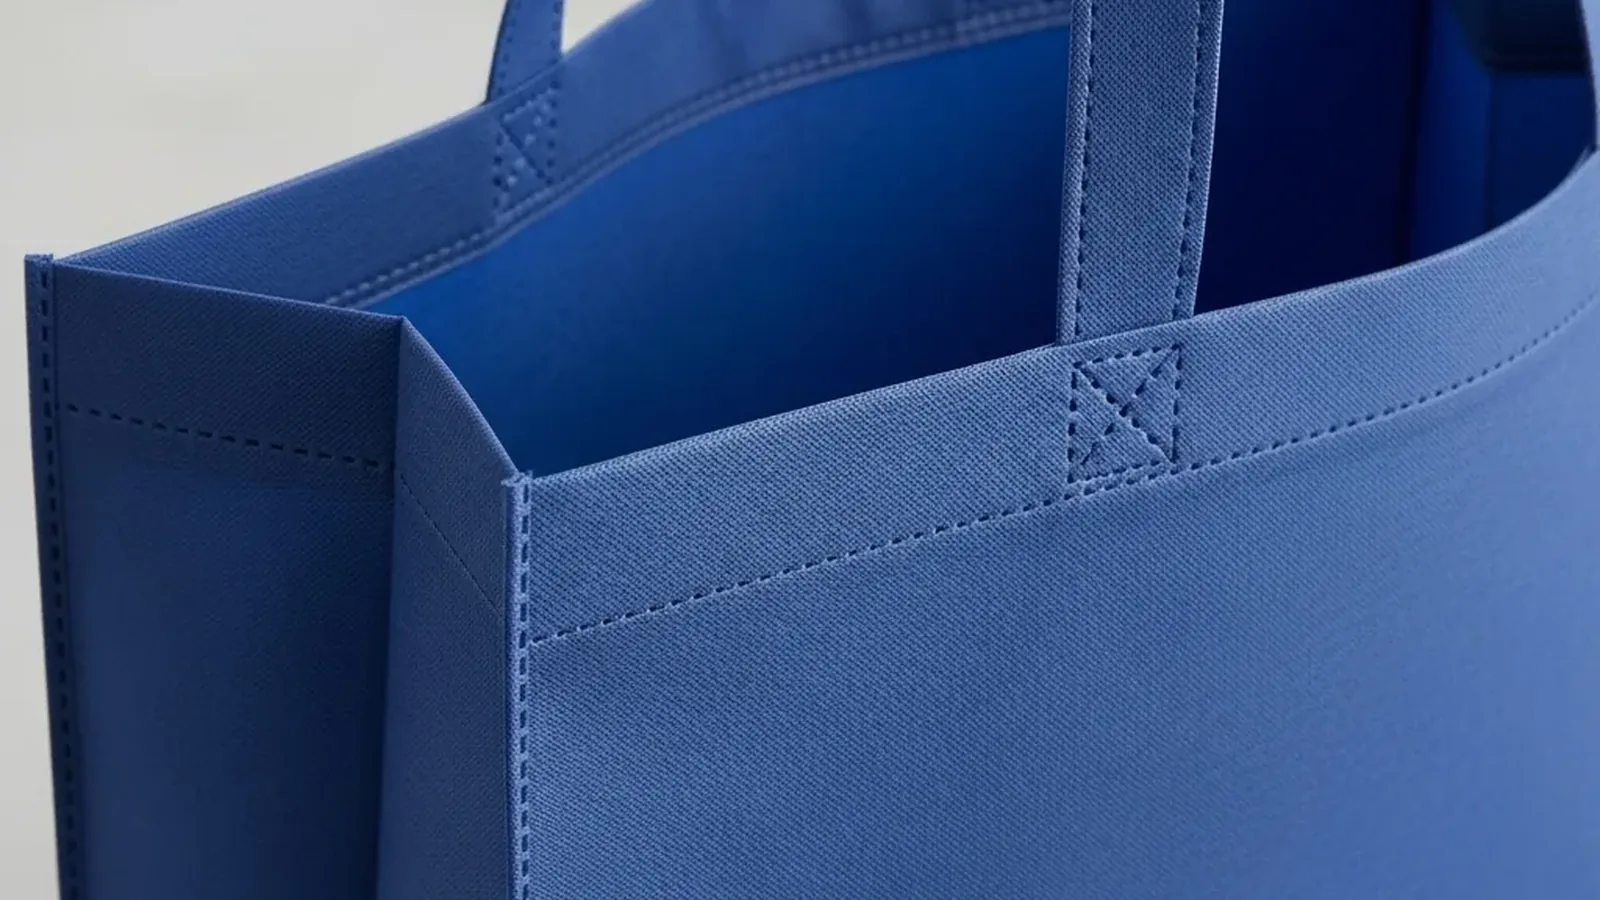
The first physical checkpoint is the roll of webbing. On a heavy-duty tote, the webbing runs the full length of the bag opening rather than stopping at the handles. That detail matters because a handle that only meets the bag at two points concentrates the load at those points, and a heavy component pulls there first.
A buyer walking this station should ask to see the webbing against the bag opening, not just the finished handle. The question is whether the strap continues around the mouth of the bag or ends where the handle ends. Handles stitched to carry weight, not just to close the bag, show up as longer stitch runs and a wider attachment.
This is also where the four checkpoints begin. Every order passes from incoming material to the final count, and the webbing check is the earliest place a weak batch can be caught. If the material is wrong here, no amount of careful sewing later will fix the load rating.
Cutting the Base Where a Brake Rotor Sits
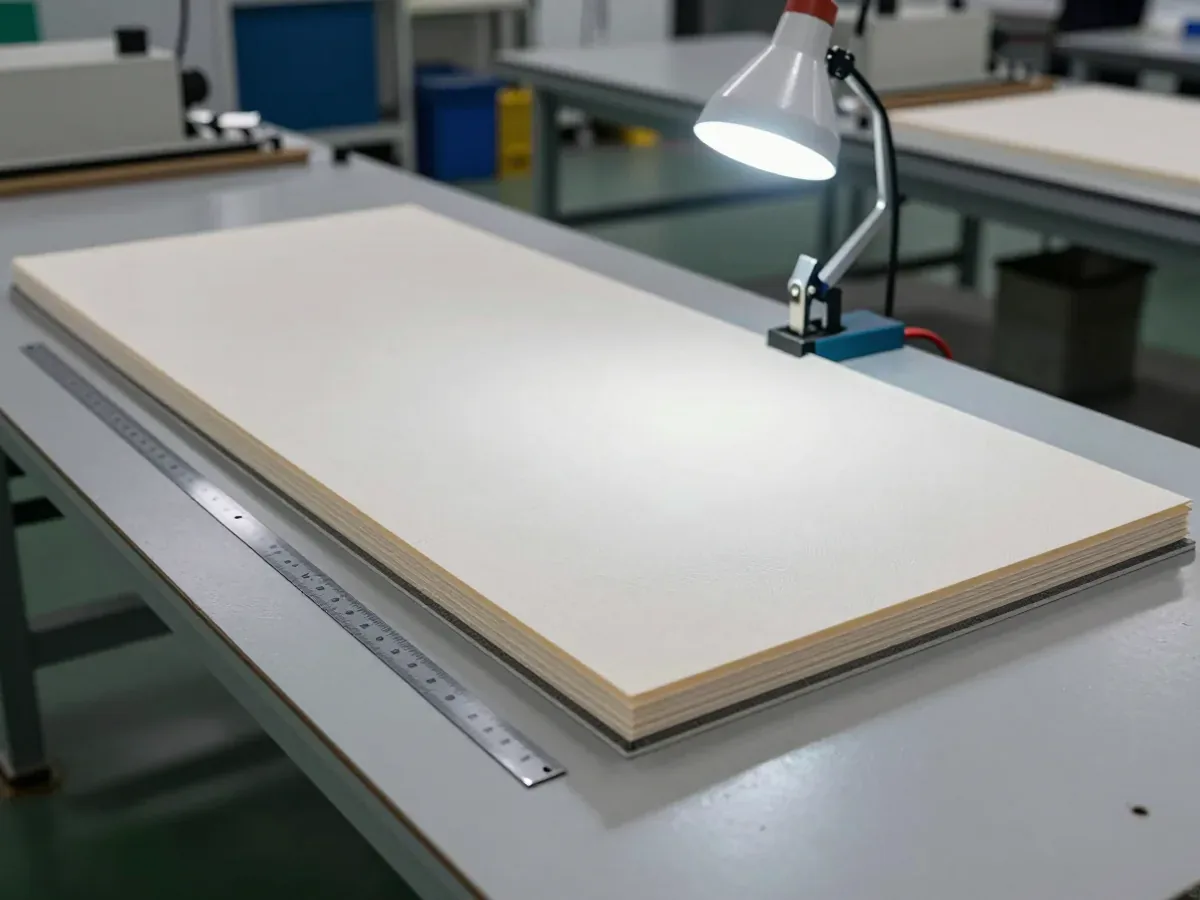
The cutting station is where the base takes shape, and the base is where a heavy part actually rests. A reinforced base is not a marketing phrase on a parts tote. It is the difference between a bag that carries a rotor for a season and one that sags into the shelf by the third month.
Look at how the base panel is cut and how it joins the side panels. A reinforced base usually means an extra layer or a heavier panel at the bottom, and the seam that holds it should be visible and even. On the finished bag, dimensions are checked by hand, and the base is one of the first places a hand check finds a problem.
The department that asked the question had a rotor line and a line of small fasteners on the same shelf. Those two lines do not need the same base. A buyer who orders one spec for both will either overspend on the light line or underbuild the heavy one.
Sewing the Handle and the Front Loop

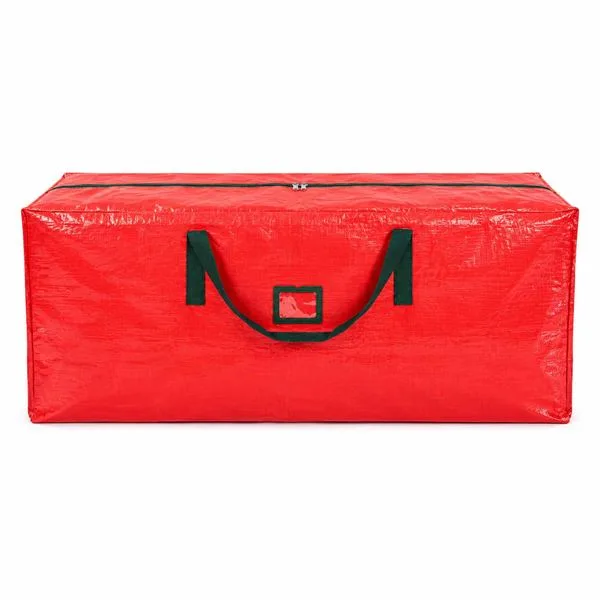
At the sewing floor, the handle and the front loop are the two features that decide daily use. The handle carries the load. The front loop holds the inventory card, and a reusable front loop keeps that card in place instead of a loose sticker that peels off after a few weeks.
A card on the face of the bag says what is inside, and that card has to survive handling, restocking and the occasional drop. Ask how the loop is attached and whether it is stitched through a reinforced area. A loop sewn onto a single layer of fabric will pull away long before the handle does.
Pull, seam strength and bar-tack are tested on every batch, and this station is where those tests earn their place. A bar-tack at the handle joint is a small block of stitching that stops a tear from running. A buyer does not need to watch every stitch, but asking to see a pull test on the finished handle tells you whether the sewing floor trusts its own work.
Final Inspection: Labels, Dimensions, and the Card That Stays Put
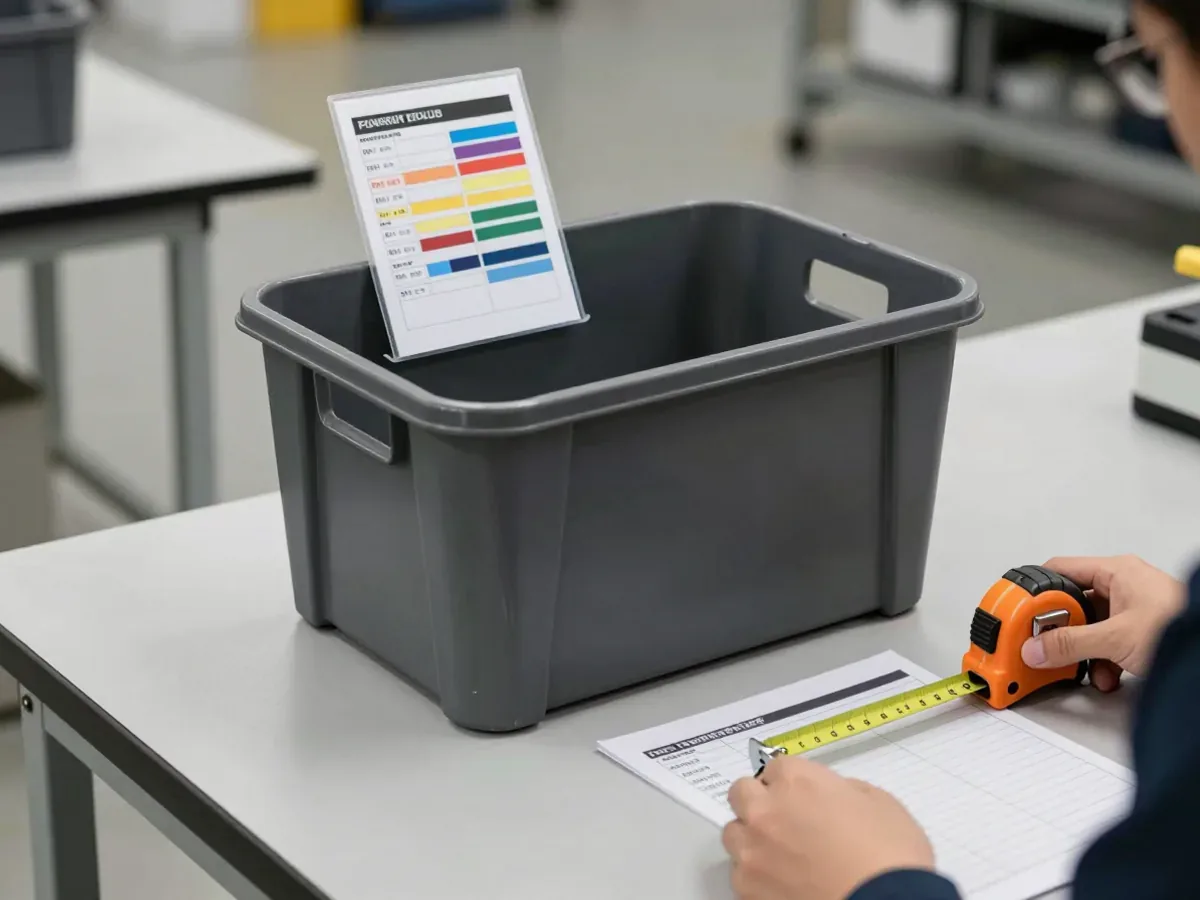
The final inspection station is the one most buyers picture, and it is the least revealing on its own. Dimensions, handles and logo are checked by hand on the finished bag. That check catches a bag that is the wrong size or a logo in the wrong place. It does not catch a base that will sag under a rotor in month four.
What the final check should add is the label test. The colour code marks the aisle, and the face card marks the part line. A buyer should see a finished tote with its card in the loop and its colour code readable from a few steps away. If the card falls out when the bag is tipped, the loop is decorative.
This is also the moment to confirm the flat-fold behaviour. The body is flat-folding when empty, which is what lets a parts department store less air on a shelf. A tote that only folds with effort will not be folded by a counter person in a hurry.
Loading the Container and the First Aisle Test
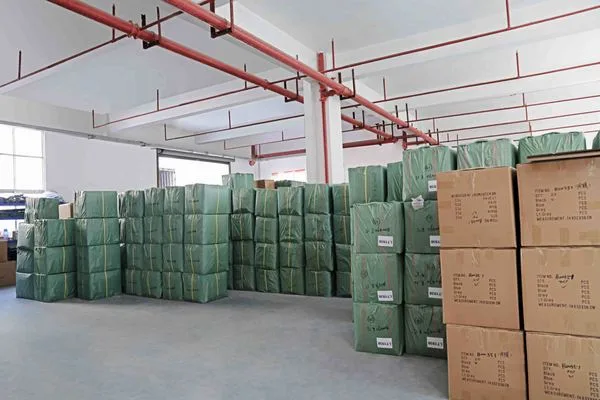
The last station is the container, and it is where a tote program meets its real test. Cartons are sealed and loaded, and the first aisle switch happens weeks later on a Monday morning. The gap between those two events is where most surprises live.
A buyer can close that gap by asking for a loaded sample before the container ships. Put the heaviest part on the line into a finished tote, lift it by the handle, and set it on a shelf at the height the department actually uses. Then tip it, pull the card, and fold it flat. That five-minute test answers more than a spec sheet.
The department in the example reported a faster counter time per part and a lower miscount after the switch, because a labelled front loop kept the inventory in view and a counter person no longer fished to the bottom of a deep bin. Those outcomes are plausible, but they are the result of the whole route, not one feature.
What the Walk Proves About a Tote Program
The walk proves something narrower than a guarantee. It shows whether the bag was specified against a parts count, whether the webbing and base match the heaviest item on each line, and whether the label system survives daily handling. A tote program that passes those checks is ready for an aisle switch. One that skips them is a sample approval waiting to be tested by a brake rotor.
For a parts department, the useful checklist is short. Confirm the load per line, see the webbing run the full opening, look at the reinforced base, check the front loop with a card in it, and fold the empty bag flat. Then load one tote the way the counter will and carry it across the floor.
FAQ
Are heavy-duty tote bags strong enough for brake rotors and other heavy car parts?
A heavy-duty tote with a reinforced base and a robust webbing handle is built to carry a brake rotor or a heavy component without tearing. A thin single-use bag is not. The load rating depends on the base and the handle attachment, so those two features are what a buyer should verify.
How do inventory labels stay on a parts tote instead of falling off?
A reusable front loop holds an inventory card in place, so the part stays identifiable without a loose sticker that falls off. The loop is stitched to the face of the bag, and the card sits inside it rather than relying on adhesive.
Can a parts department colour-code totes by aisle?
Yes. A colour-coded set lets each tote carry the aisle colour on its face, so a counter person can read the shelf from a distance. The colour code and the face card work together: one marks the aisle, the other marks the part line.
Do these totes fold flat when empty to save shelf space?
The body is flat-folding when empty, which is what lets a department store less air between part lines. A tote that folds flat also stacks more predictably on a shelf than a rigid bin.