
Built from our own production records and spec data for warehouse sorting totes, with commercial terms and third-party standards kept off the page.
The purchase order arrived with eleven lines, and the buyer had signed it after reading only two of them. Fabric, size, colour, quantity, and a note that said "strong handles" filled the page, while the lines that would decide whether the totes lasted a season or a month sat blank or vague. A sorting tote is not a difficult product to describe. It is a difficult product to describe completely, and the gap between those two things shows up on the conveyor, not on the sample table.
That order went to a factory that sewed a clean sample. The mass run used the same shell, the same colour, and the same handle webbing. What changed was the density of the weave and the amount of stitching holding each handle to the panel, and neither change appeared on the paperwork because the paperwork never asked for a number. Six weeks later the buyer was sorting through returns and wondering why a bag that looked identical failed in the same place every time.
The Order Line That Starts the Whole Conversation

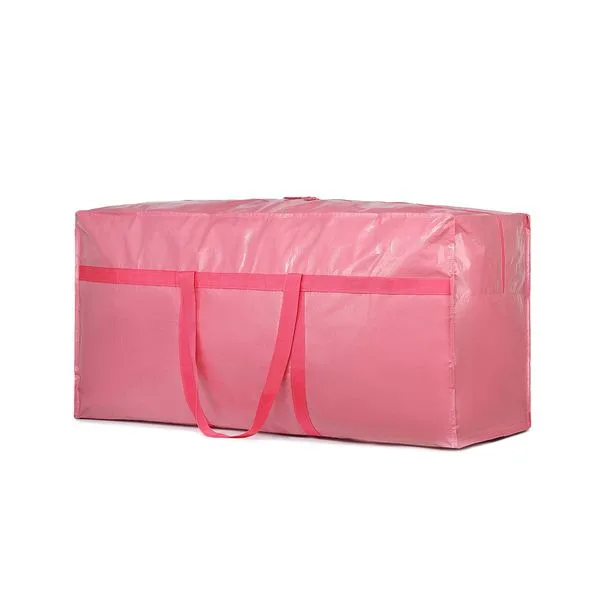
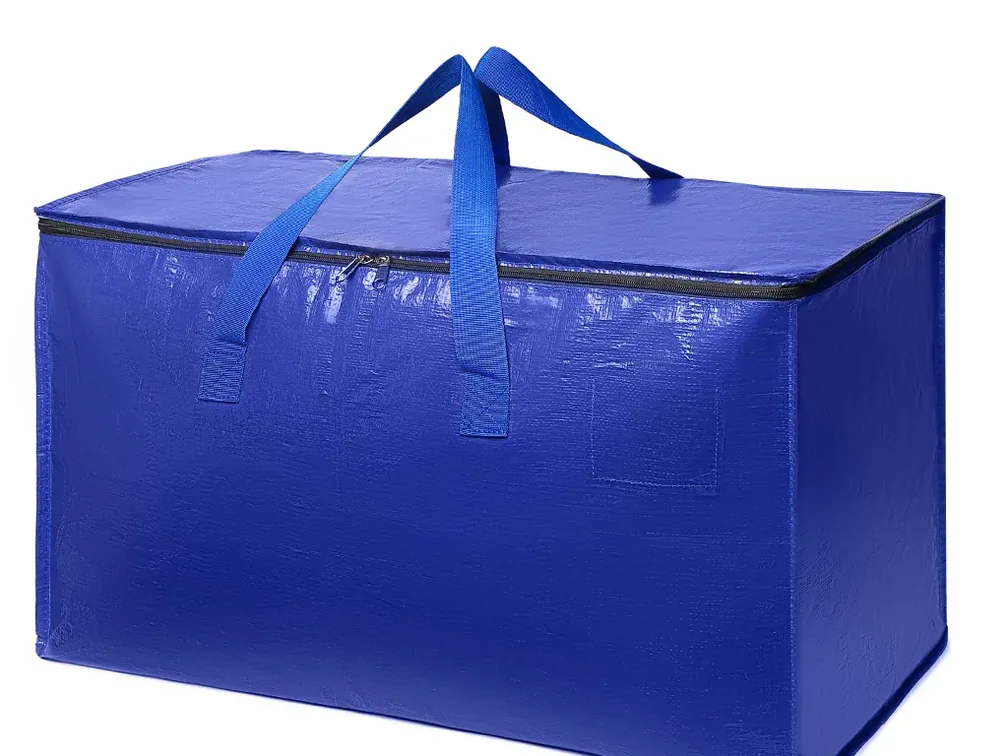
Most sorting tote orders begin with a size and a fabric name, and that is the first place the spec sheet loses its grip. "PP woven, 45 by 15.7 in, blue" describes a family of products, not one product. Two factories can read that line and deliver totes that feel different in the hand, carry different loads, and fold differently when the shift ends.
The line should name the fabric, the density, the weave, the base construction, and the handle system before anything else is written. Each of those words pulls a decision behind it. Density sets the tensile reserve. Weave sets how the surface behaves when a tote slides across a steel chute. Base construction sets how the bag sits when it is loaded and stacked. Handle system sets where the pull load lands.
A buyer who writes only the family name has handed the engineering decisions to the supplier. That is fine when the supplier already knows the sorting floor. It is expensive when the supplier only knows how to sew.
Fabric Density and Weave: The Number Buyers Copy Without Checking

Density is the line most often copied from an earlier order without a second look. A number like 160 to 200 gsm appears on the sheet, everyone nods, and nobody asks whether the mill actually delivered it. The range matters because the low end and the high end behave differently under repeated loading, and a tote built at the bottom of the range will not carry the same reserve as one built at the top.
Write the target density as a single figure with a tolerance, not a range that spans the whole acceptable band. A range invites the mill to land at the cheapest point inside it. A figure with a narrow tolerance tells the mill what the order actually needs.
Weave belongs on the same line. Plain weave with cross lamination is the construction that keeps the shell from separating when the bag is dragged, stacked, and compressed. The cross lamination is invisible in a photo and easy to skip in a quote, which is exactly why it needs to be written down.
Verification starts with the mill certificate for the fabric lot, then moves to a physical check on the pre-production sample. Cut a small square from a spare panel, weigh it, and compare against the stated density. If the number is close but the hand feel is thin, ask for the lamination confirmation before approving the run.
Stitch Density and Edge Binding: What the Sewing Floor Reads
The sewing floor reads stitch density before it reads anything else, because stitch density is what the operator sets on the machine. A sheet that says "double needle lockstitch" without a stitch count leaves the setting to habit. Habit varies by operator, and the variation shows up as a seam that opens after a few hundred cycles.
Write the stitch count as a number per inch, and write the thread type next to it. Nylon thread at a defined count gives the seam a consistent behaviour across the run. The same instruction should cover the edge binding, because a cut edge that is not bound will fray from the inside out, and the fraying starts where nobody looks until the bag is already in service.
The verification step here is simple and unglamorous. Count stitches on a two inch section of the side seam and the base seam on the sample, and do it again on a unit pulled from the middle of the production run. A count that drifts between the two tells you the machine setting moved.
Edge binding gets its own check. Run a thumb along the bound edge and look for loose thread tails and gaps where the binding missed the cut. A gap of a few millimetres is enough to start a fray line.
Handle Attachment: Where the Pull Load Actually Lands

Handles fail at the attachment, not in the middle of the webbing. The pull load concentrates at the point where the handle meets the panel, and that point needs more than a straight seam. A reinforced cross stitch spreads the load across a wider patch of fabric, and the patch itself should be sewn into the side panel rather than stitched onto the fabric edge.
Write the attachment method, the reinforcement type, and the anchor location on the order. "Handles attached to the top edge" is a line that produces a bag which tears at the top edge. "Handles anchored into a side panel reinforcement patch with cross stitch" produces a bag that distributes the pull.
The verification is a pull test on the sample, done by hand or with a simple gauge, at all four attachment points. Pull steadily and watch the stitch line rather than the webbing. A stitch line that opens or a patch that lifts tells you the reinforcement is cosmetic.
Our own line attaches handles in a separate sewing step after the panels are joined, which is why the attachment can be inspected as its own operation rather than buried inside the panel seam.
Gusset and Base: The Line That Changes How the Tote Sits

A gusseted base is usually described in three words and decided in thirty seconds, yet it changes how the tote behaves through the whole shift. A flat base collapses when the bag is set down half loaded. A gusseted base opens the contact area, spreads the bottom seam stress, and lets the tote stand while a worker sorts into it.
Write the gusset depth as a measurement, not as a yes or no. Depth controls how much the base opens and how the loaded bag sits on a pallet. A shallow gusset gives a stable footprint but less volume. A deep gusset gives volume but can sag when the load is uneven.
The base seam needs its own line on the sheet. The seam that closes the gusset carries the weight of everything above it, and a single row of stitching there is a weak point that no amount of shell density will rescue.
Verification means loading the sample to its intended working weight, setting it down, and watching the base. A base that rocks, sags, or pulls the seam tight under load will do the same thing on the floor.
Label Window and Pocket: Small Feature, Big Sorting Consequence

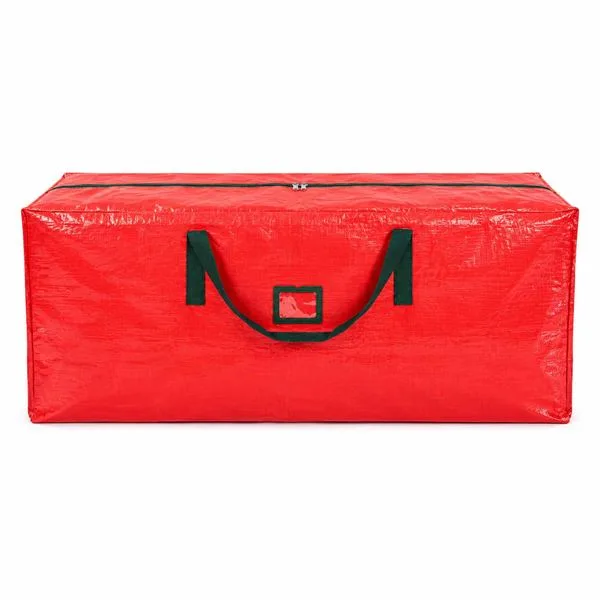
The label feature looks like a detail until a sorting floor tries to work without it. A clear front pocket holds a category card, and the card is what lets a worker route a tote without opening it. When the pocket is missing, the label goes on the outside as a sticker, and stickers come off.
Write the feature as a pocket or a window, and be specific about which. A pocket has a depth and an opening. A window is a panel of clear material set into the face. The two are made differently, and a supplier who reads "label window" and builds a shallow pocket will deliver something that holds a card loosely and lets it slide out.
Write the clear material, the finished size of the opening, and the position on the face. Position matters more than buyers expect, because a pocket placed low sits under the load line and a pocket placed high sits where the handle pull distorts the panel.
Verification is a fit check with the actual card the warehouse uses. Slide it in, turn the tote upside down, and shake it gently. A card that falls out has failed the only test that matters.
The Line Most Spec Sheets Leave Blank
The blank line is the test protocol, and it sits at the bottom of almost every order because it feels like something the factory handles. The protocol is the buyer's instruction about how the tote will be judged, and without it the factory judges by what it can see.
A workable protocol names the load, the cycle, and the inspection points. Load means the weight and the mix, because a tote filled with boxes behaves differently from one filled with loose hardware. Cycle means the sequence of pack, lift, set down, stack, and empty, repeated enough times to expose a weak seam. Inspection points mean where the checker looks after each cycle, and the handle attachments belong at the top of that list.
The bar tack is the item that most often falls through this gap. A bar tack is a dense run of zigzag stitching across the handle attachment, and it is the single reinforcement that keeps the pull load from concentrating on a few threads. A sheet that says "reinforced handles" without naming the bar tack leaves the reinforcement to whatever the operator does that day.
Write the bar tack as a location and a length. All four attachment points, with a defined stitch run across each. Then write the pull check that validates it, and put that check in the protocol rather than in a note.
The protocol also needs a sampling rule. How many units from the run get the full cycle check, and who signs off. A protocol without a sampling rule is a wish.
FAQ
What fabric density should a warehouse sorting tote spec sheet state?
State a single target figure with a narrow tolerance rather than a wide range. The 160 to 200 gsm band is the working zone for a reusable sorting tote, and the order should name where inside that band the bag is built. A range that spans the whole band lets the mill land at the cheapest point.
How do I verify bar-tack strength on a pre-production sample?
Pull each of the four handle attachments steadily and watch the stitch run rather than the webbing. A bar tack that holds keeps the stitch line closed and the reinforcement patch flat. A bar tack that opens, or a patch that lifts at the corner, tells you the reinforcement is too short or too sparse.
Should the label window be written as a pocket or a window on the order?
Write whichever the warehouse actually needs, and describe how it is built. A pocket has depth and an opening. A window is a clear panel set into the face. Naming the wrong one gets you a feature that holds a card loosely or not at all, and the fit check with the real card is what settles it.
Can a gusseted base be added after the sample is approved?
It can be added, but it changes the pattern, the base seam, and the way the loaded bag sits, so the approved sample no longer represents the production unit. Treat a base change as a new sample round. Approving a flat base and ordering a gusseted one leaves the buyer with no verified reference.